Monday, 8 April 2013

Marisha Aya- week 5, explorations and contour model =D

Im catching up! yay!

My final contour model was altered a tad to meet the minimum height requirements, also to enhance the final model further I interpreted my contour lines a little differently to create the cave that can be seen in the image below. By doing this, we already establish a NATURAL enclosure within the site.
Final Contour Model 
To start the process of exploration, I selected a sample of three spaces that were visually prominent and used them as a basis of my experiments with the different model.

Deep Valley

Cave

A play of varying depths and surface area that visually creates a very interesting space in-itself
During the main studio briefing, we were asked to play and tamper around with the idea of SOLID and MASS and use them to recreate space. As usual, I was very confused as to how to actually create space with a SOLID object, something that is devoid of all sense of space itself.  It took me a while to understand that just like the solid concrete walls of a building or room generate the sense of 'space' within that room or just like solid wooden planks combine to create the space within the box, so too, could the solid form interact with the surface of the contour model to create space.

(Since I am only at the exploratory stage, I have not manipulated any of the models just yet, using the originals to understand how the materials and the models would relate to the contour context to create the sense of enclosure)


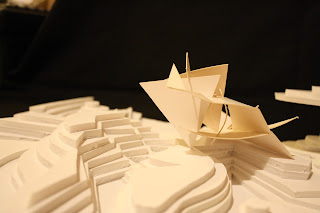
Even though I was able to, in the end, create that idea of enclose space with the primitive solid, it was still felt very rigid, and after talking to the tutors that using the models (wood, paper and wire) as a starting point would not be a bad idea either considering that they were 'born' from the primitive shape anyway and still had the essence of the original shape as is. 


The upturned plane starts creating something of a viewing platform to the deep valley below. 
It is interesting to see how the model relates to the naturally enclosed space. We can start to see the different 'spaces' created within the very same 'space'; the idea of 'enclosure' is enhanced by the deep, comforting and dark area inside the cave. However, the orientation is very awkward!


I also used the wooden model as a means of exploration.

The placement of the model creates a very 'tent-like' space in that hollow triangular area generated through the interaction of the model and the flat surface. 

'overhanging' - we can start to imagine the thrill one would feel walking along that overhanging ledge or just sitting on it looking down at the deep valley below. 
 Stemmed from the idea of overhanging came this positioning of the model hung over the caves edge, half in and half out! (Tripppyyyy!)

The interaction between the spaces within the model and the natural space suggested by the contour model very effective where each space, in relation to the contour model, has a different 'feel'. For example in the images below, we see the lower right hand side platform of the model jut into the natural enclosed space created by the cave, bringing with a sense of safety and cosy-ness as it faces a very shallow space in comparison to the upper left hand-side platforms that protrudes into the wide open space. This side, like the 'overhanging ledge' brings a sense of thrill and excitement as it overlooks the landscape and the valley from a height. The floating quality of the positioning alongside the model's interaction with the surrounding space and the contours is what make this position quite successful.

When developed further with careful consideration of placement and keeping in mind the aim of the task, to create an enclosure and think about how the spaces created would be 'occupied',  I think the final might just be very interesting! Can't wait to see what happens!!!


 I would LOVE some feedback as to what you reckon about the positioning of the models and what I can do to make it more effective!

-Marisha Aya

Marisha Aya - week four

Heya guys! sorry for the late post for week three studio work :/ had a few issues with the laptop but it's up and running again!

Below are two images from the weeks charette activity, the second one being the one I edited slightly after a bit of discussion with Marie, about how even the smallest of additions to a drawing can bring it to life.

Just a heads up, the image is sort of divided vertically through the middle of the page (imagine an imaginary line) where on one side, the side with the cube, has been rendered naturally, with the shadows being the darkest and the areas where the light hits the surface being the lightest. However, on the pyramid side of the page, this normality has been reversed, so the place where the shadows were cast appear to be the lightest areas. Sorry for the confusion, I just wanted to experiment with this contrast, and looking at the two images, a very uncomfortable vibe is created, particularly when the eye travels to the junction of the pyramid and the cube and focuses on the contrast of the shadow cast on the cube by the pyramid and the natural shadow of the pyramid itself. 


 As can be seen, where the pyramid ends and where the cube begins is hard to distinguished, so, I added a little more shadow to the cube where it intersects with the edge of the pyramid, using the contrast as a means to bring the pyramid 'further out' visually.


I have also attached the section drawings that I have completed so far. I found these drawings to be very challenging and time consuming in particular, perhaps because of the precision and accuracy required for them; something we have not practised over the previous weeks. However, I do think it was a good activity for us in terms of actually learning how the space is segregated within the model itself and how all these individual 'slices' forms the final model in the end when layered one upon another (refer to last image).


paper model sectional


wooden model sectional


Compilation and layering of the wooden model sectionals to visually understand how each section related to the other and how they all 'fit' to become one unit.


Let me know what you think =)


Sunday, 7 April 2013

Danielle Fitzsimmons - Project One - Week One

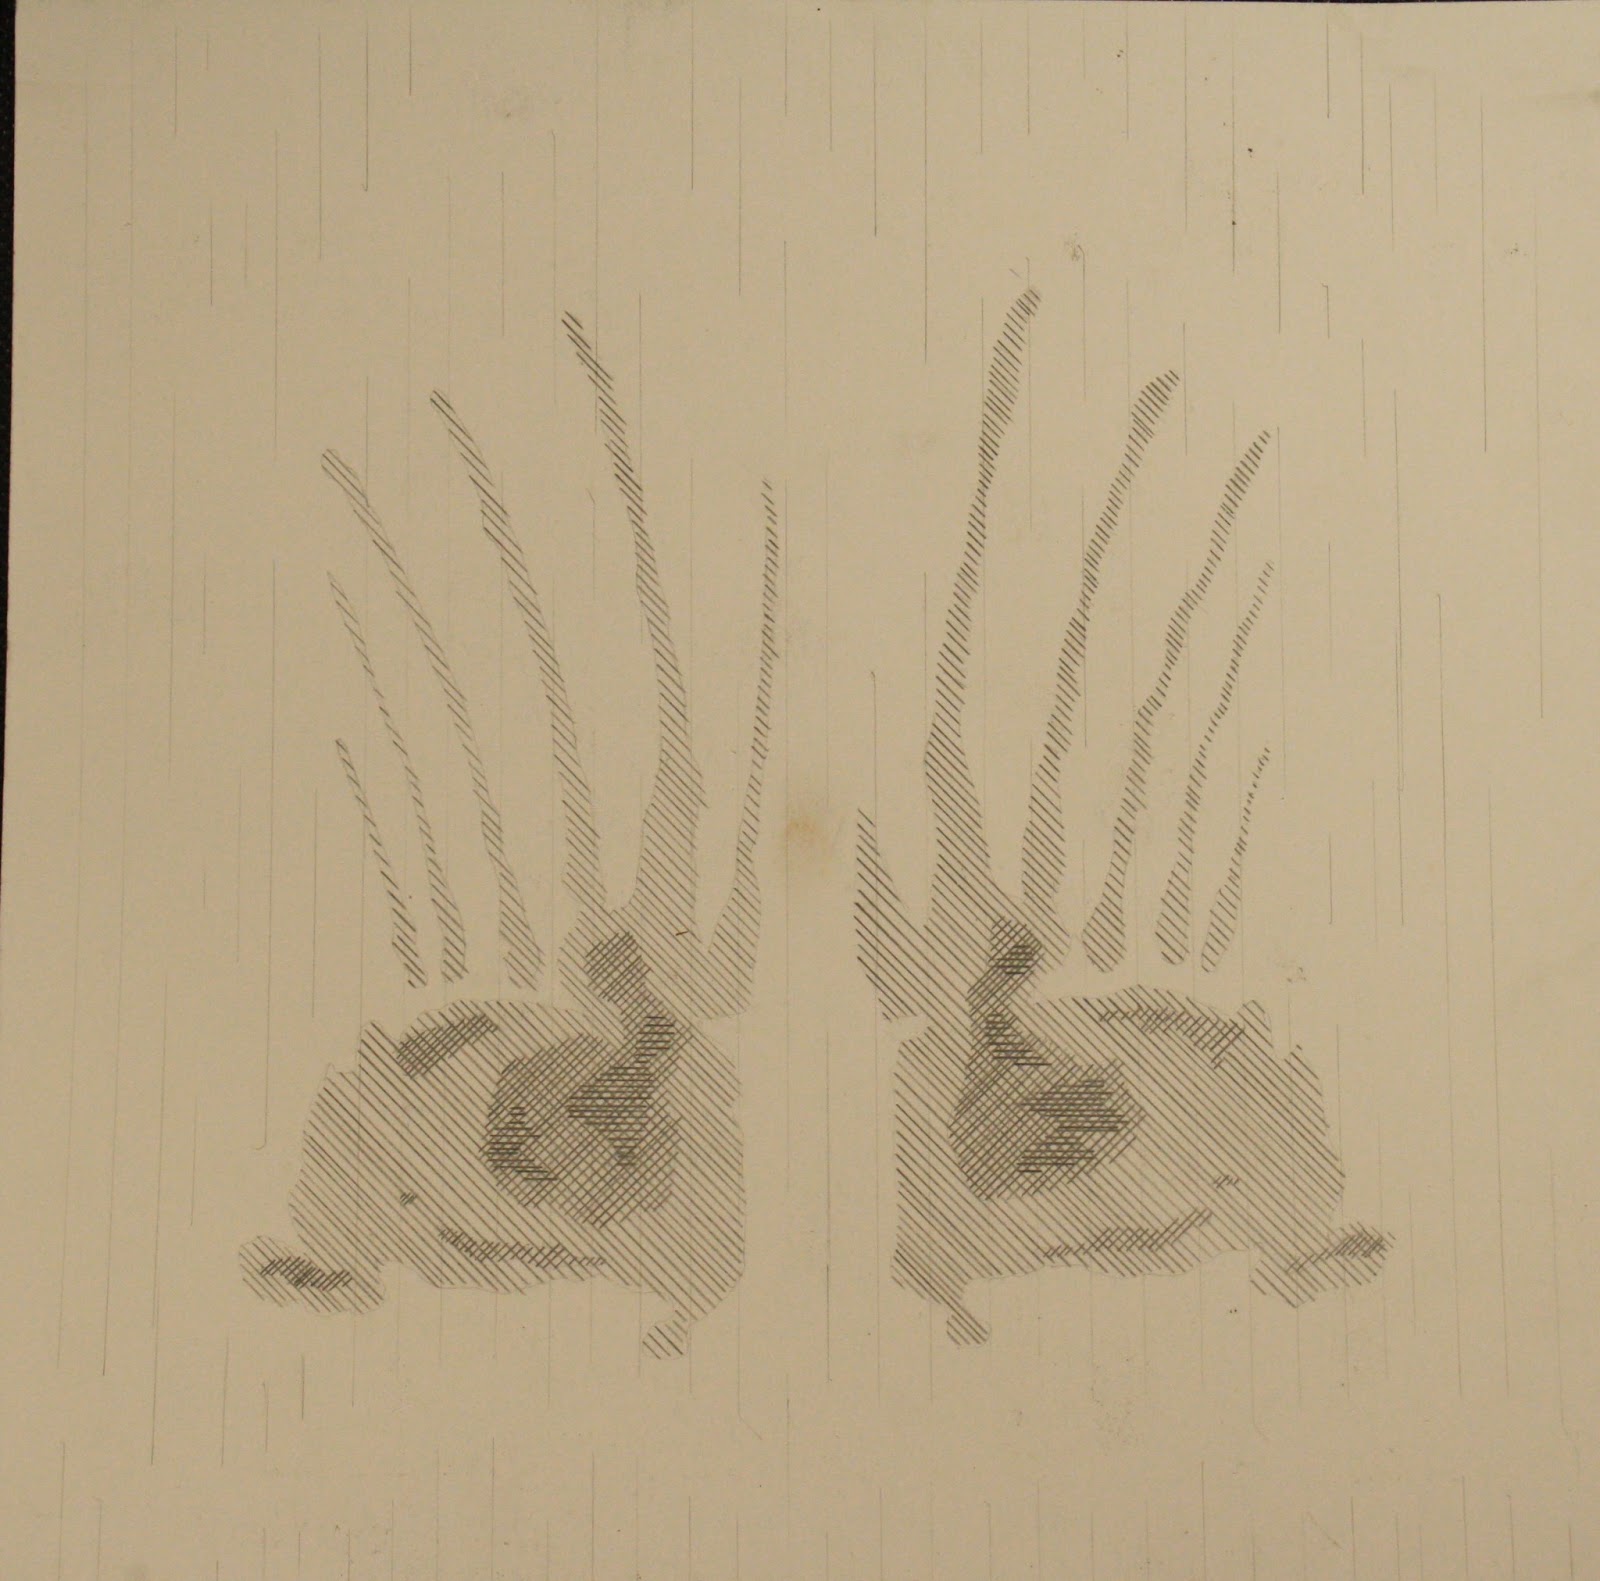
This is my chosen inkblot, I chose this particular pattern because it interested me and inspired me in its distinct shapes and different lines. it is also asymmetrical which sparked a different interest the pattern.

This is my chosen contour, I chose this because of it follows the inkblot pattern strongly and shows a different perspective of the design.

This is my chosen hatching, I chose this hatching because it reveals the different densities in the inkblot and strongly demonstrates the long curved parts effectively.

Sameer Azim Week 4 - Sections

this is the charrette we did by using different techniques we learnt in studio to identify different shadows when put your primitive shape against a light source. i used hatching with different darkness in pencils, so i used 2b for the darkest shadows, and 2h for the lightest, i also did different spacing for instance in the two lightest shadows. i used the same 2h pencil but by spacing the lightest one out it made it seem lighter than the 2nd lightest shadow. 

this is the draft work i did for my wire sections did a series of sketches of to find out common shapes to draw my formal sections
this is my final sections for my wire model , this really helped to find the common and interesting shapes i found in my wire model by doing this sections, also made me realize that the simple geometric construction can create more complex geometry. 


this are my draft work for wood section 

 this one is my wood sections finals
draft for my paper model
this are my final sections , i found this to be the easiest because it had the most simple geometric shapes out of the three models

Saturday, 6 April 2013

aneesa hussain- week 4

CHARETTE

For this weeks charette we had to use the platonic shapes we created last week i chose two shapes which is a cube and square based pyramid. Then placing it in the sun to find shadows that the shape projected.I used the cross hatching and hatching technique to draw the shape as well as  line weight to create shadows. I think my drawing shows the shadows well.

DRAFT SECTIONS

Draft Wire Sections

Draft Paper Sections


Draft Wood Sections

FINAL SECTIONS

 This is the ten sections for my wooden model. The ten sections show the wooden model being cut horizontally from the bottom up. Sections are shown using rectangle and squares.

 Wire Sections. These sections are cut vertically from the front of the model to the back. Sections shown using curved lines and dots.


Paper sections. These sections are also cut vertically from the front to back. The sections are shown using straight lines and curved lines.


Friday, 5 April 2013

Project Week 5...

Hi everyone,
For this project , think space, mass and void , don't rush to find a function for your building, first of all, try to create spaces and focus on the position of your building on the site.
Mainly think about the SCALE....good work, i can't wait to see your projects and POSTS on the blog. Good work
Marie :)

Walk on top of the forest - Péruwelz- Belgium - Arcadus Architect

Hi guys,
I had a conversation about this project with Myles yesterday and it's the opportunity to show you some architecture from my region :) Marie

http://www.wbarchitectures.be/fr/actualites/2_Journees_de_l_architecture_en_Belgique/39/