Friday, 22 March 2013

sameer azim week 3 work

charretes
working with the symmetry charrete was easy because it was simple but at the end the finshed product was very boring and dull looking 


this is to show balance as both sides are equally leveled therefore showing balance i explored using wire in this model as it was easier to hold up 


this is the asymmetric model as you can see this is also boring and dull looking and i feel that i could have further explored this model to look more interesting and unique 


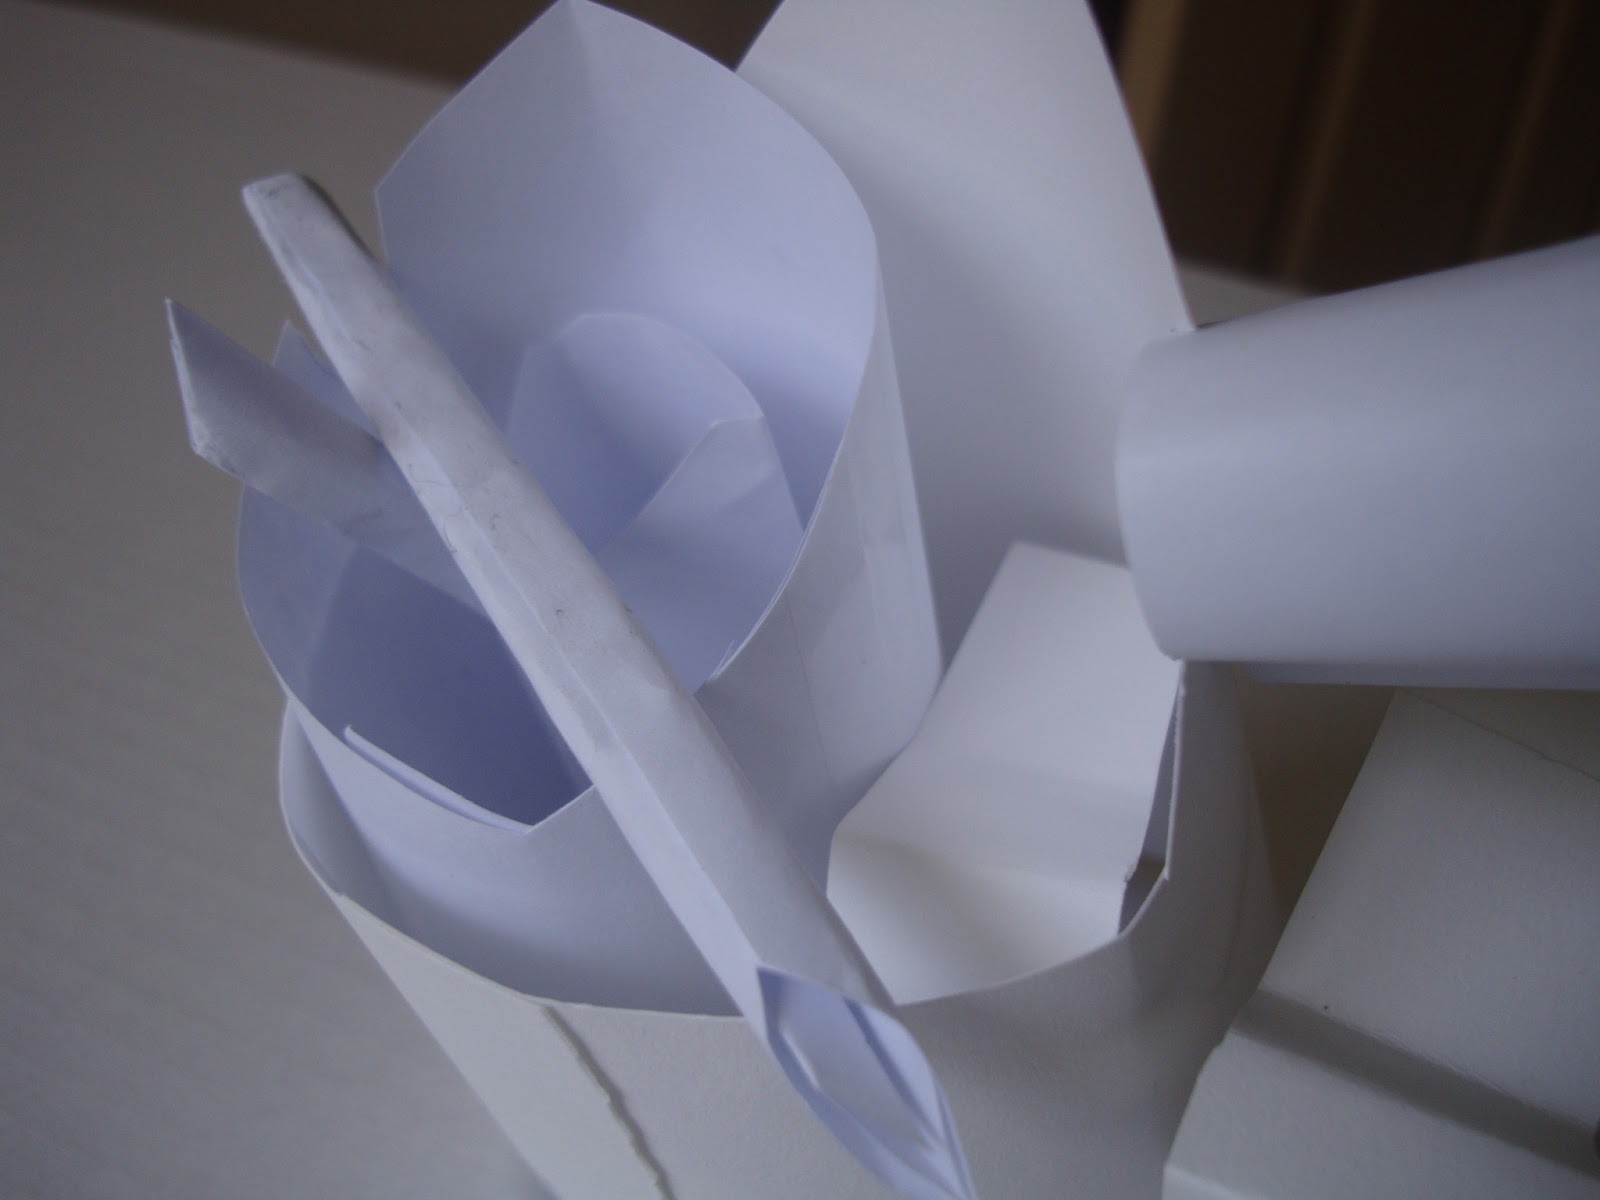
these are my paper models in the 1st picture i started to explore the curves more than 2nd one , as in the 2nd one i showed the curved shapes in a more simpler way. still have to do my final paper model


these is my wooden model model i have explored diferrent spaces and shown shape plains aswell in these some shapes ihave used a series of wood to show as i thought they stand out more than the other shapes 

2


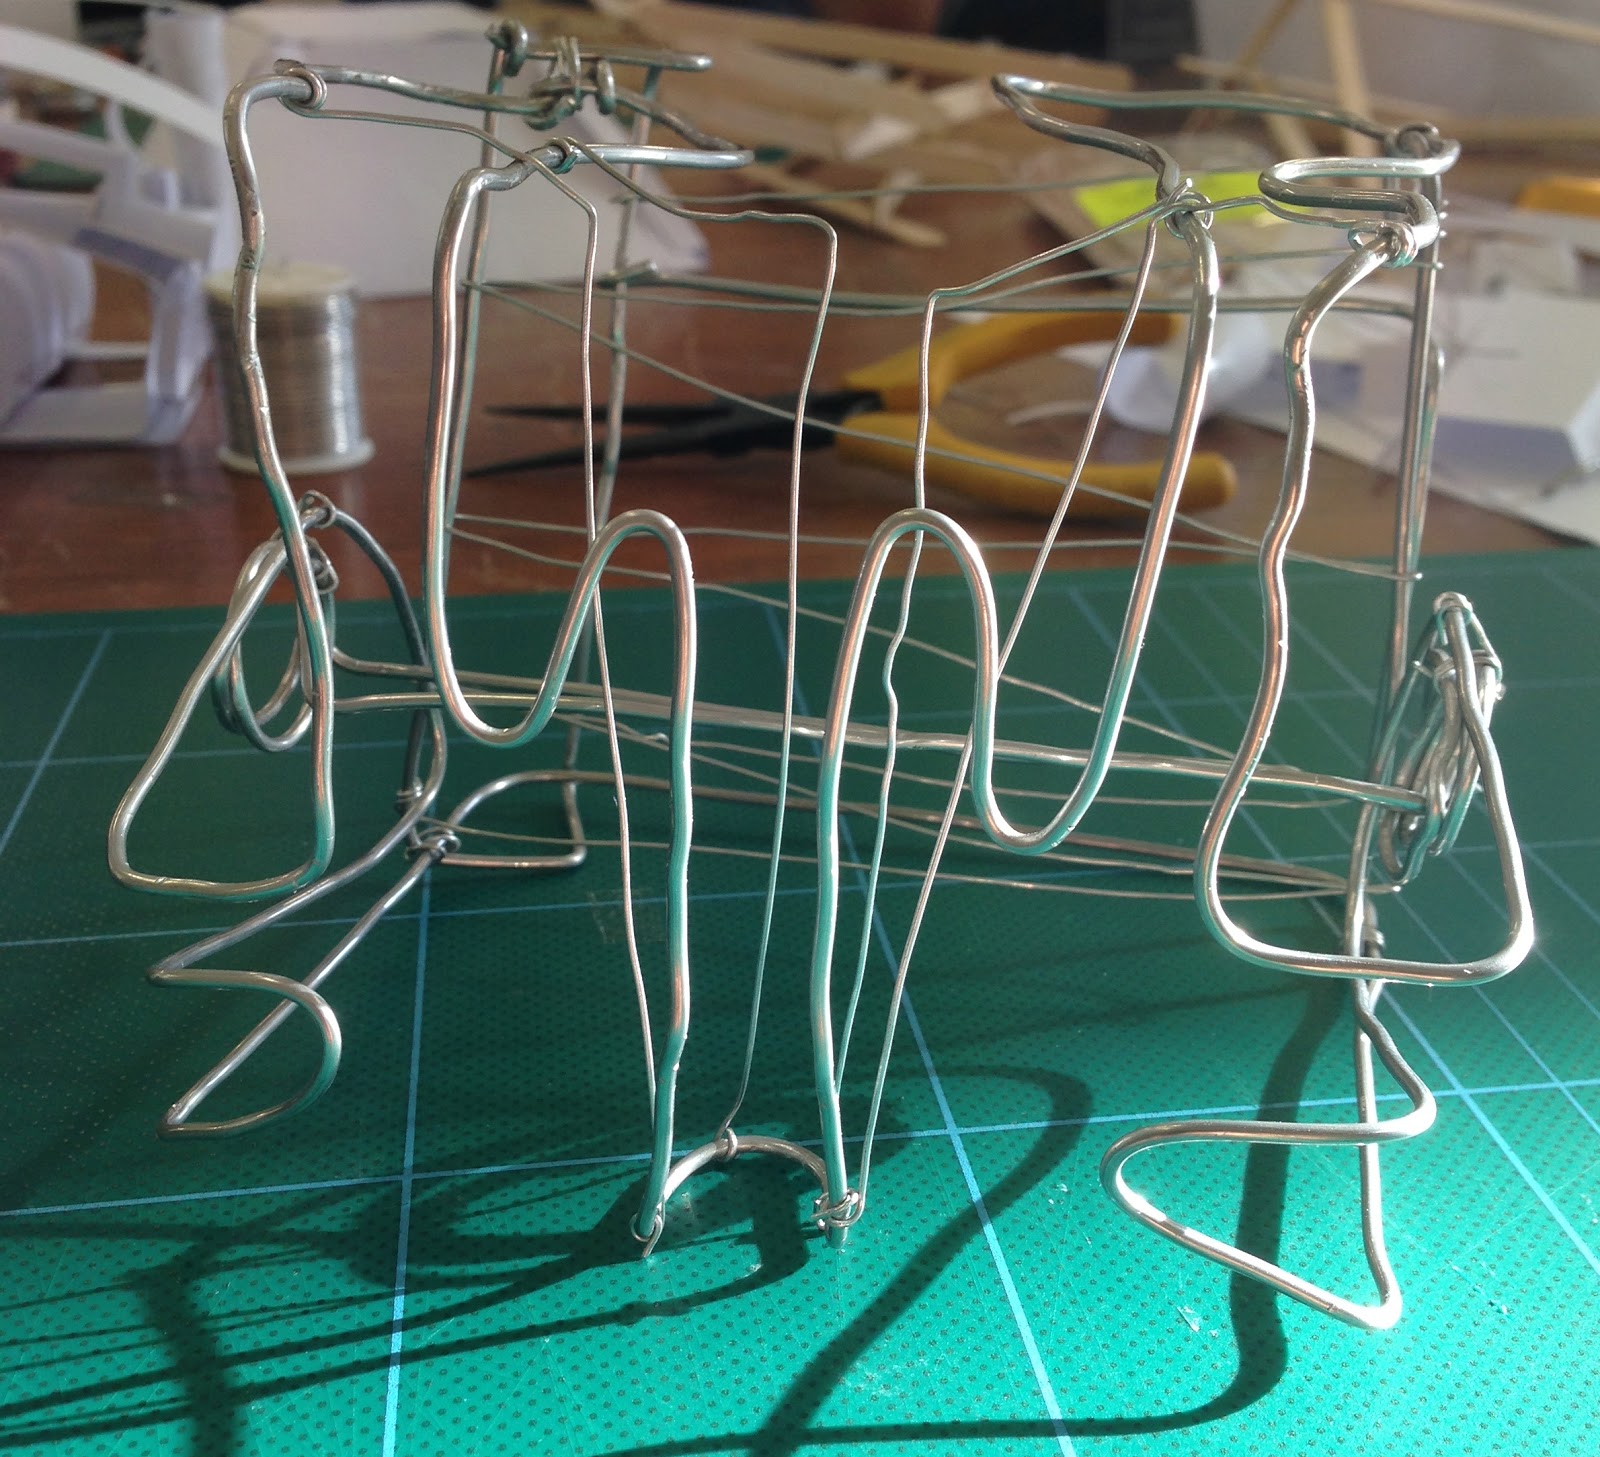
this is my wire model in this i have shown depth by using meal sheets because my contour is more simplistic , the metal sheets gave this model more depth and gave it a sensce of space 


this is my final paper model i explored diferent spaces as the big dome created was the shape that stood to me most so i made it the bigest shape , it felt as as if that shape is a frame or support hence why the biggest shape 

thanks 

Thursday, 21 March 2013

randi futialo week 2

I have noticed that my chosen Klecksograph does not have any linear or straight lines of any form and therefore, I thought that I can recreate this piece by only constructing circles. Here I've tried to do half of my drawing on a smaller scale to test it out.

My final geometric drawing..needs a little more work on it to be completely finished.


 My three model platonic shapes: cube, triangular pyramid and octahedron.


Final Acetate shape. I have chosen the octahedron as it contains more volume than the triangular pyramid and it is not as simple as a cube.

Wednesday, 20 March 2013

Comments...

Also, don't forget to comment the work of the other students in your group, that's one of the aim of this blog too ! Looking forward to see your last work on the blog and your comments !
Good work

Contact...

Hi Guys,
If you have to reach me for any issue that cannot be discussed during studio, here is my email :
mariels.moulin@gmail.com
Marie

Marisha Aya- negotiating the void (updated)

Hey Hey!!!

Sorry for the late timings but it is the best I could do :(

So today we were asked to create three different models using mainly popsicle sticks, each representing one of the three characteristics; symmetry, asymmetry and balance.

I started working with the symmetry model to begin with. However, I found that I struggled to generate ideas of symmetry without obtaining a very 'rigid' and 'tense' product at the end. This can be seen very easily in the picture above where in order to present symmetry, my model ended up looking dull, and almost autonomous! Could definitely be improved to create something more visually interesting!

Symmetry

asymmetry angle 1

asymmetry angle 2

Working with the asymmetry model was far more interesting in my opinion as I felt 'freer' (if thats a word!) to play around and not worry about attaining the perfect rigidity required to create symmetry. For my model, I chose to play around with the focal junctions as a characteristic that also contributes towards the overall asymmetry of the piece. This can be seen through the fact that there are two junctions/joints lying on the same axis (refer to angle 2) where aluminium wire has been used to hold the sticks in place whereas the rest are simply joint manually. This results in the eye travelling along that axis and pausing at the main wire junction before moving to the rest of the model, thus skewing the visual balance and symmetry alongside the asymmetry created through the form itself.


Balance

The last piece had to represent balance. Instead of focusing on visual balance, I chose to focus on the illusion of balance, where as seen in the image above, where the small vertical stick (top right) appears to be 'balancing'/hanging off the sloping stick almost perpendicular to it. Notice how the joints affect this illusion too, where all the sticks in the model are joint using wire except for the joint where the vertical stick intersects with the sloping stick to the left. This was done deliberately to try and communicate this idea of it looking like its not actually joint to the piece and is simply balanced from it rather than fixed and held down using the wire like in all the other joints in the piece.

Visual balance is also lightly suggested as the horizontal plane of the model, (the sticks in the bottom half) looks like a mirroring of the vertical plane (the sticks in the top half), however, this was not the focus of the piece!


Showcased below are my finals from the series of models created to experiment and explore the idea of space.


Right from the beginning of the task I was very confused as to whether the space inside our acetate shape needed to be FILLED or FORMED. I.e Is the space supposed to be filled up or formed deliberately. When this question was asked to a set of the tutors, all of them said that the best solution would be to just try it out, experiment and then you will come to know.

So starting with the paper model, I made one to fill the empty space, using the exterior contours on the acetate as a guide to do so...

Paper-planar-'Fill the space'
And a model which 'formed' the space....

Paper- planar- 'Form the space'
Both produced varying results. Visually, the 'fill' model looked so much more interesting with it's multiple faces jutting out edgily in spontaneous directions. In comparison the the 'form' model, it seemed almost more exhilarating! 

However, the point of the task was to use the material as a means to 'create' the space within. Looking from this point of view, the 'fill' model started looking messy to me, it lacked a dominance of SPACE itself and appeared haphazard as if the material defined the space instead of space defining the material. 

In comparison, the second 'form' model appears more CONTROLLED and deliberate, where the space holds a dominance over the material. And when taken further, we can also see that the model shows a dominance in the distribution of space within the model too, the dominant space being the void formed in the centre of model two which separates into smaller confines as it moves out from the heart. As a result I understood that the whole point of the experiment was to use our materials to not 'fill' but 'form' and define the unknown space within. 

Using the same concept, I created my wooden and wire models. 


Wooden - linear
I used the wood as a means to visually suggest the boundaries of the platonic shape of the acetate (octahedron in my case) rather than actually physically make the boundary. The criss-crossing strips of wood moving off in different directions, alongside their angled ends was my method of doing so.

Wire - curvi linear

In my opinion, my wood and wire models were far less successful at communicating the idea of space and forming it. Perhaps because Planes, with their solid surfaces are able to define and break up space a lot more effectively than hard lines that the wood and the wire possess, resulting in us being able to only suggest space instead of actually defining the space which the paper allowed us to do so freely. 


That's all! Let me know what you think!


Tuesday, 19 March 2013

Myles - Week 3, Project 1 - Negotiating The Void

Week 3, Project 1 - Negotiating The Void

Here are my 3 charettes for tuesday.
The model in the foreground was designed to show balance. I used sticks and wire and made 3 supports which support the two horizontal sticks. I basically just made it and balance came to me later through the construction.
The one with the X through the middle was my symmetry model. It was fairly basic but it did the job.
The last model was my asymmetric model which was basically made out of all the left over off cuts and sticks. I felt it was most interesting as it forms many shapes depending on how you stand it up or flip it over. It is kind of abstract which makes it more interesting compared to the other two models.


Here is my wooden model based on the spaces found within the acetate model. I feel i have made quite an interesting model that seems to resemble a plane crossed with a house. It is quiet and interesting design the creates a lot of space. I like how the curved areas contrast with the rest of the linear shape to make it a little more aesthetically pleasing. I may add some more to it later on in the week.


This is my wire model. I tried looking at my
acetate model from a different angle to try get a different perspective on my contour drawing and this is what i came up with.

This is my developed wire model. I Have changed a lot in this deign.
I have tried to show the geometric limitations of my acetate model without deliberately making the shape of the cube. I have been trying to bend my shape in such a way that you can still see the cube using the interior space.
This is my paper model. Again i was just trying to create space using the contour lines on my acetate model to create this shape. I find this design quite interesting.


This is my revised paper model.
I have been trying to create the space inside the void while also showing the primitive limits of my acetate model. I have been trying to show the boundaries without using a plain flat edge. I have been using other shapes to try bring it out.


This week I have learn't the process of how to make something two dimensional and effectively make it into multiple 3 dimensional objects. As well as looking at, and creating space I have now gained practice using wire and wood.

Myles - Week 2, Project 1 - Primitives


Week 2, Project 1 - Primitives:

This was Monday's charette where we had to try show a foreground, mid-ground and background using our instruments. I tried to use a series of screens placed 3 dimensionally in order from closest to furthest away as well as using various line weights and patterns to bring out the depth.

In this charette we had to show on half a page a balance of negative and positive and on the other half show a portray dominance between positive and negative.
In my first piece I tried to portray to counteracting forces (positive and negative) of equal strength pushing against each other.
In the second piece I tried to portray one of those forces over powering the other to show the dominance.


Below is my 'Refined Contour" I basically used different arcs, circles  and straight lines to show the general shape of my klecky. I fell it has produced a more robotic version of my original contour drawing.


These are the 3 primitive shapes i have made.


This is an updated version of my refined contour. I have added a lot more curves and line-weights to bring out some more detail as well as darkening the construction lines add a whole new level. I think i have improved this from my earlier version and will print this one to the acetate. 

 This is my final acetate model. I trialed lots of different shapes from photocopied versions. i found the square to be simple and effective. I do not like that the contour did not transfer onto the acetate very well but unfortunately due to time constraints i cannot go over my whole contour and re-print/ re-make the acetate model. 
If i could have done this again I would have made everything a lot darker so that it would show on the acetate better.


This week I have learnt how to use some of the different drawing techniques 
that we learnt last week in practical situations as well as getting used to using all of our  drawing tools.